
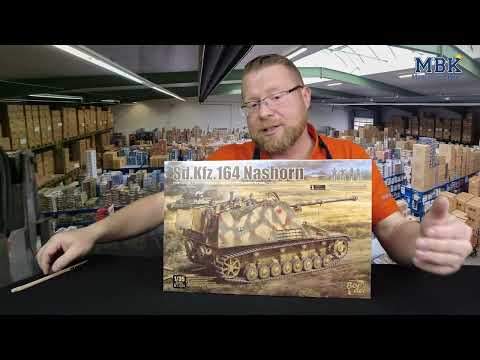
Sd.Kfz. 164 Nashorn
Early/Command w/4 figures
Border Model | N° BT-024 | 1:35

Statistiques
- Marque:
- Border Model
- Titre:
- Sd.Kfz. 164 Nashorn Early/Command w/4 figures
- No de Modèle:
- BT-024
- Échelle:
- 1:35
- Type:
- Maquette complète
- Sorti:
- 2023 Nouvel outillage
- Code à barre:
- 6971995748205 (EAN)
- Emballage:
- Boîte rigide (ouverture par le haut)
- Sujet:
- Sd.Kfz. 164 Nashorn » Chasseurs de chars (Véhicules)
- Listed on:
Marquages
Sd.Kfz. 164 Nashorn
Sd.Kfz. 164 Hornisse
 Wehrmacht Heer (German Army 1935-1945)
Wehrmacht Heer (German Army 1935-1945)
- s.H.Pz.Jg.Abt. 519 Pommern
1944 World War 2 - Eastern Front
Whitewash over RAL7028 Dark Yellow RAL6003 Olive Green RAL8017 R - s.H.Pz.Jg.Abt. 88
1944 World War 2 - Eastern Front
RAL7028 Dark Yellow RAL6003 Olive Green RAL8017 Red Brown
Contenu de la boîte
Dimensions:
370x250x90 mm
(14.6x9.8x3.5 inch)
Poids:
700 g (1.54 lbs)
Ilustration de la boite conçu par Jason Wong
Chronologie du produit
Border Model
2023
Instructions
Télécharger 6768Kb (.pdf)
Place de marché
No partner shops available
Avis sur le contenu de la boîte
Avis externes
Avis sur le contenu de la boite
Panzer Modell

Avis
moxingfans.com
 Avis sur le contenu de la boite Modellbau-Koenig
Tous les avis » (6 au total)
Magazines
")
Commentaires
This is a very nice kit, but in the usual BM style, the instructions are a mess.
It took me a couple of minutes to figure out, but 'onal P' means Optional Parts. When en how this was lost in translation is a mystery, but anyway.
The optional Parts are there to distinguish between Early and Late versions. It would be nice if the instructions stated this from the start and led the builder through the steps - or at least showed some consequence. Instead they randomly switch between 1 and 2 from step to step.
For an Early version, go like this:
Step 2: A1, the idlers with the round holes
Step 4: G1, the large exhaust unit
Step 5: the boxes underneath the rear fenders are probably not supposed to be there on a Late version! They are however present on Early Nashorns
Step 6: drill holes in the right hand fender in order to install the 2nd headlight in Step 10
Step 11: do as the top half of the drawing shows
Step 12 & 13: H1 is the plastic gun, H2 is to the optional metal barrel. This is no distinction between early and late
Step 15: PLEASE NOTE: K1 is Late - for Early, this time choose K2!!!
Step 16: in case you wonder what K3 is - it is obviously supposed to be K2...so the bottom part of the drawing is Early choice
Step 18: I am not 100% certain, but L2 should be the Early version
Step 23: Install the spare wheels, the Early version had them up front
From here on the confusion cranks up another gear. After step 26 the build somehow just stops omitting the rear lower plate that covers the exhaust and that carries the spare wheels for the Late version. The parts seem, to be there on the sprues...
Also, the kit contains parts for radio equipment but the instructions do not mention this at all!
I will get back to those latter two matters later as I build and do some more research.
21 21 June 2023, 12:51
Hi Johan - I actually build it. I agree with you. The instruction is not really für the model on the boxart. And the alu barrel is wrong. Really hard work. I build a Nashorn 1944 .. all parts are in the box but you need original pictures.
2 15 January 2024, 17:58
Documentation de référence
")
")
Tous les livres » (3 au total) Toutes les démonstrations » (1 au total)